In VRChat, you can visit many fascinating worlds. Would you like to create one of these worlds yourself? In this article, I’ll explain the basic steps to creating a VRChat world.
If you follow this guide to create a simple VRChat world with only a floor, you can place your favorite assets on it and publish your own world–so give it a try!
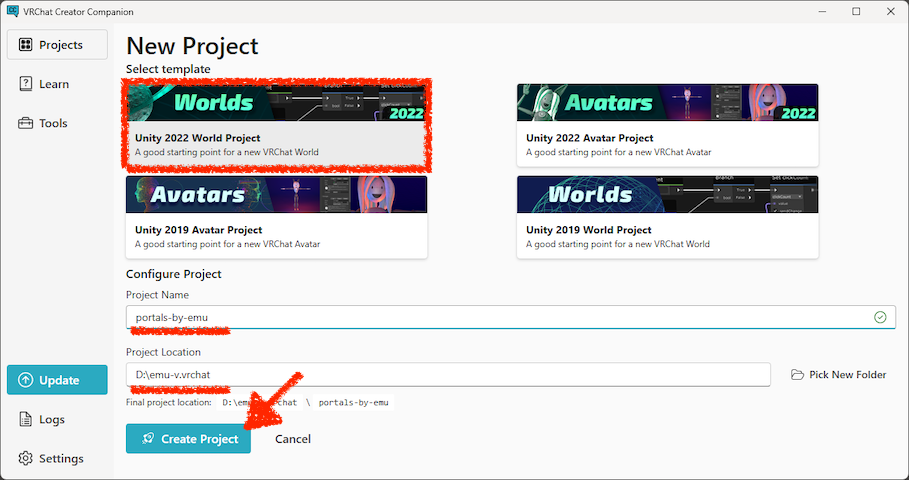
First, create a Unity project for your world using VCC. Select and enter the settings as shown below, and then click the “Create Project” button.
- Select the template: Unity 2022 World Project
- Configure the project
- Project Name: Any alphanumeric name you like
*1*2 - Project Location: Any folder you like(path must contain only alphanumeric characters)
*1
- Project Name: Any alphanumeric name you like
*1 If the project name or path contains non-alphanumric characters, such as Emoji or Japanese, errors may occur. If your Windows username includes Japanese characters, it’s best to create a path that uses only alphanumeric (ASCII) characters, such as C:\Work, and save the project there.*2 You can set the world name later, so think of this as the folder name of your Unity project.
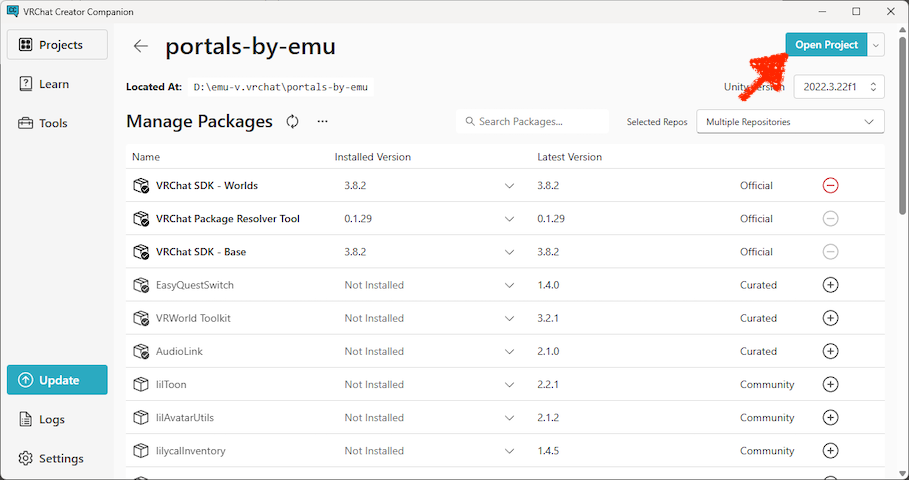
After clicking “Create Project,” your project will be created. Then click “Open Project” to launch Unity.
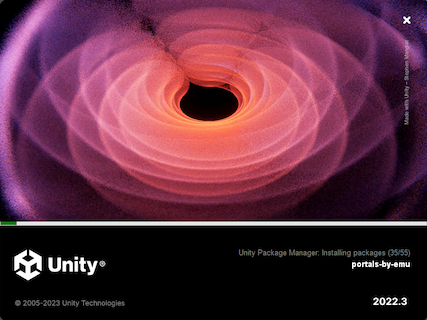
You’ll see the Unity splash screen. Grab a drink while you wait.
At some point, the Unity window may turn completely white, but don’t worry–just wait and imagine your world.
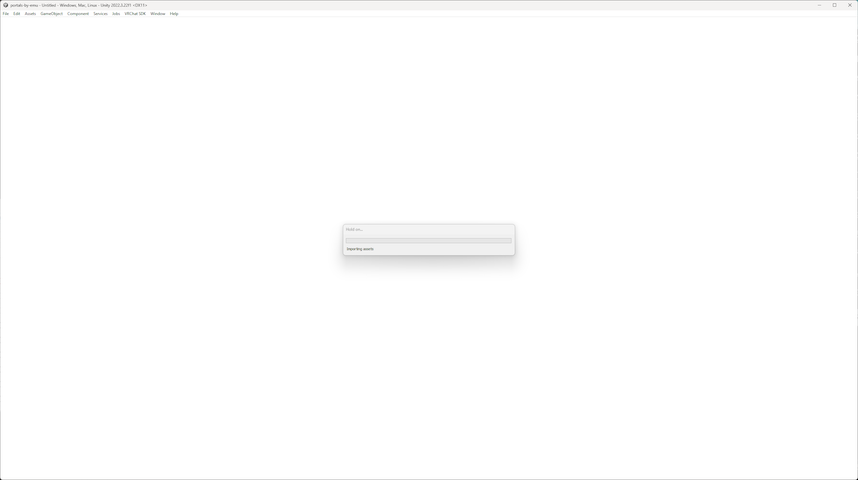
You’re still waiting. It’s taking a while. What kind of world will you make?
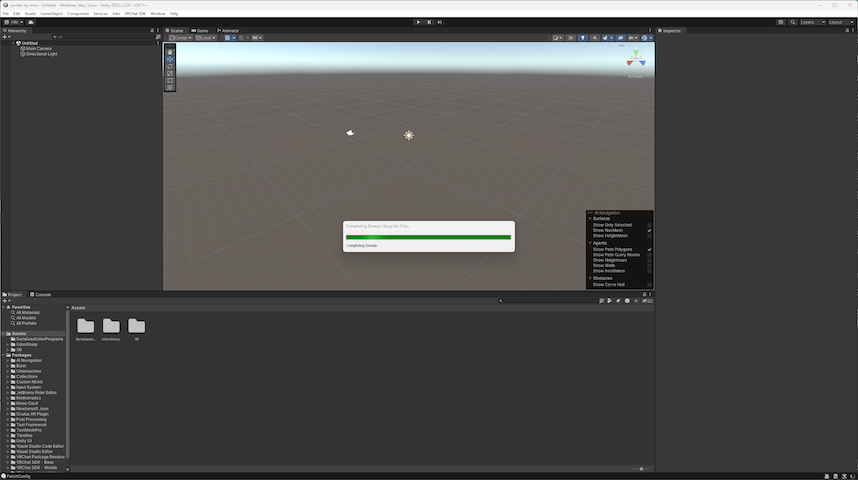
Wait a little longer, and when the progress bar disappears, your project is ready!
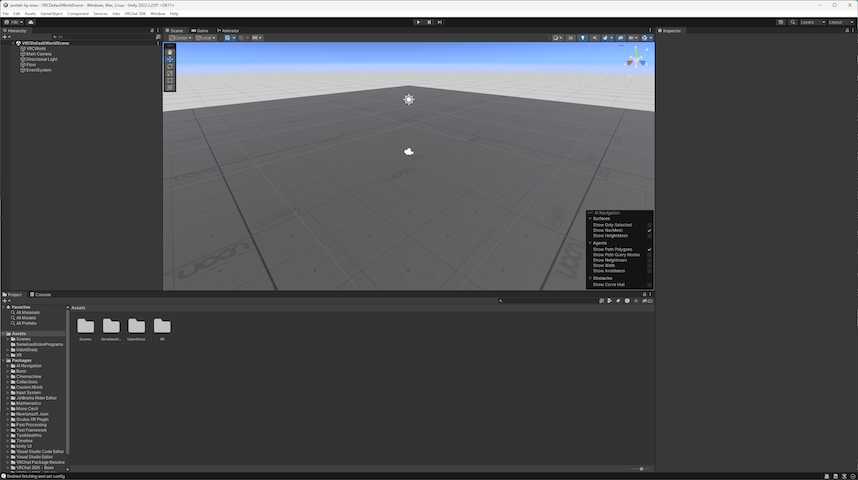
You can add any assets you like right away, such as a video player or sofa, but for now, we’ll upload it empty.
The “VRCSdkControlPanel” should appear, so enter your username and password to sign in.
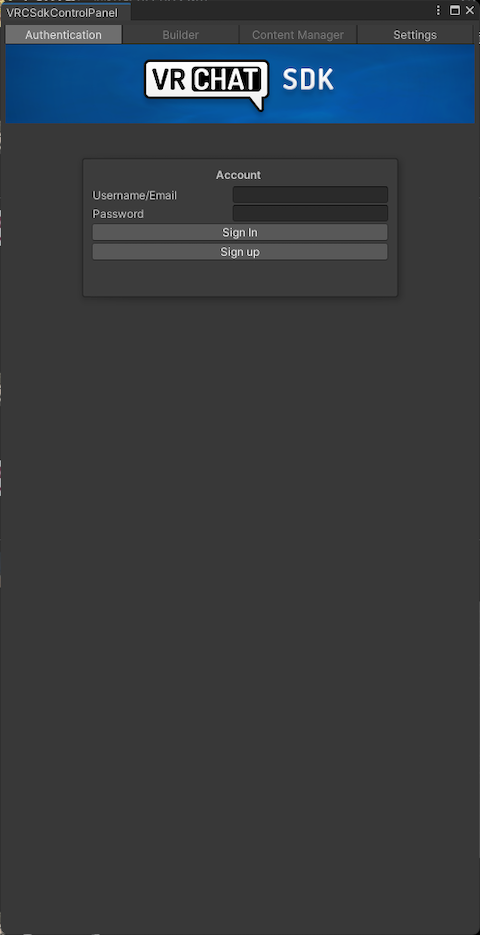
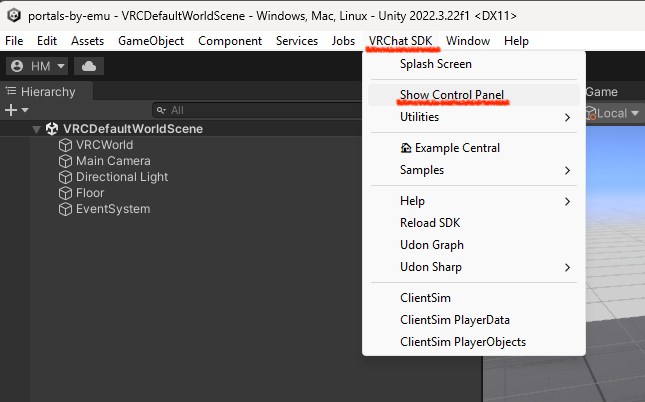
If the “VRCSdkControlPanel” does not appear, select “Show Control Panel” from the “VRChat SDK” menu to open it.
Once you’ve signed in to VRChat from the “VRCSdkControlPanel,” the “Builder” tab will look like this.
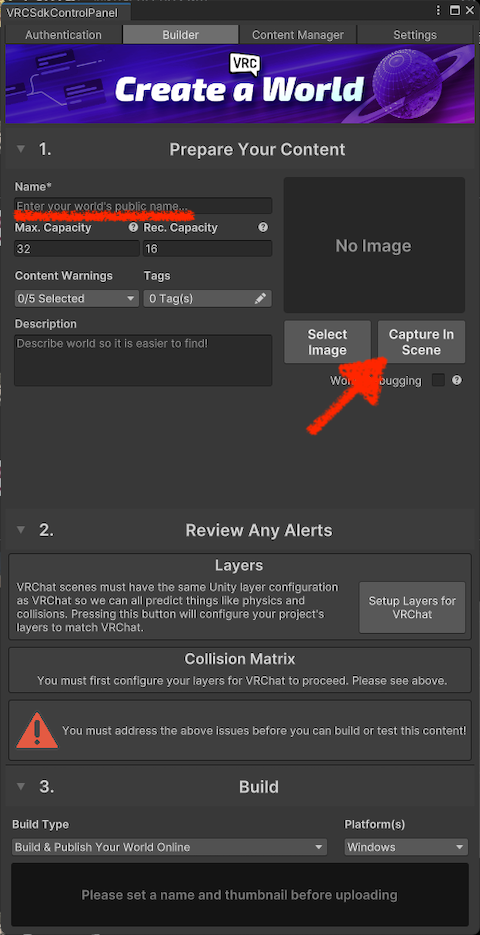
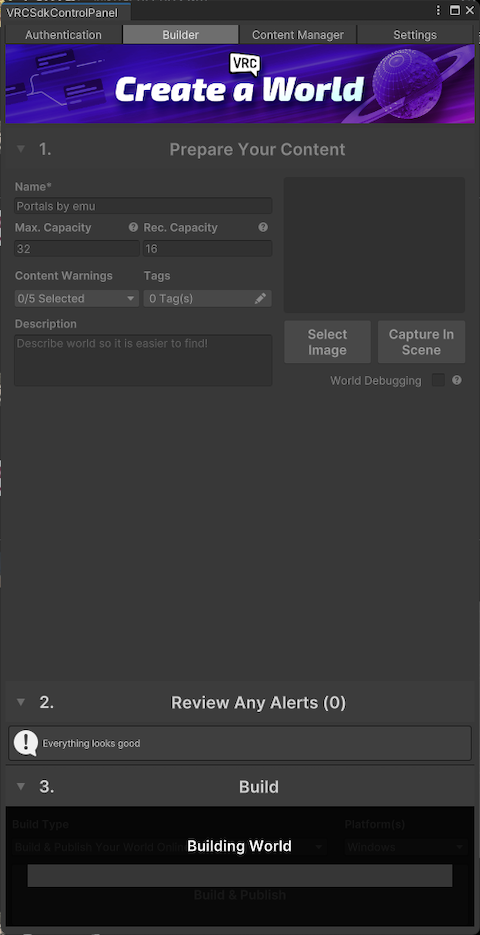
Take a screenshot of your world with “Capture In Scene,” and enter your world’s display name in “Name.” You can use Japanese and other languages here.
You might want to upload it as is, but there’s an alert in “2. Review Any Alerts.” Let’s fix it first.
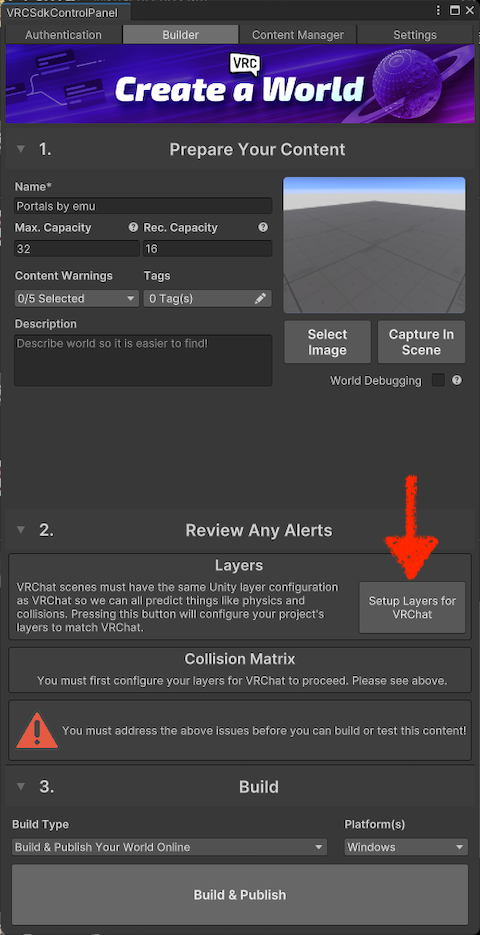
Click the button labeled “Setup Layers for VRChat.”
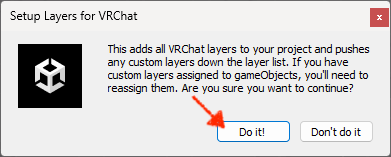
A dialog or pop-up will appear. Click the “Do it!” button.
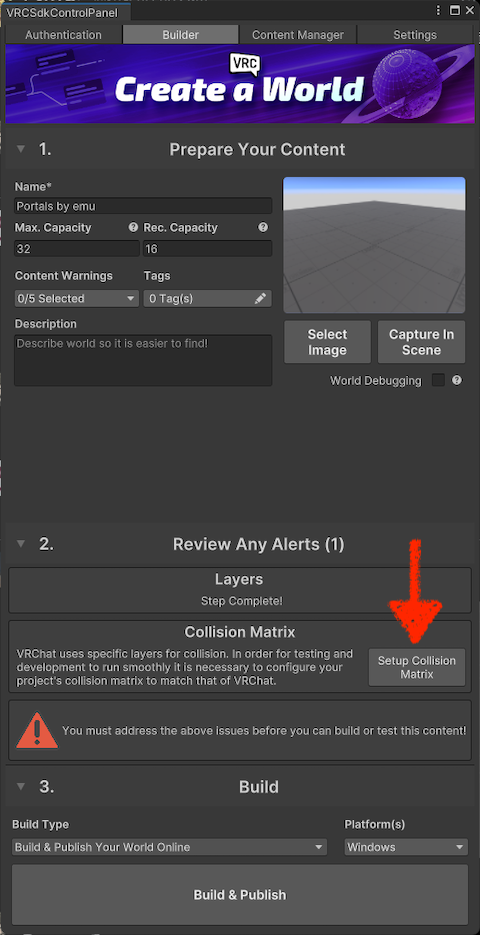
Another alert has appeared in “2. Review Any Alerts.” Let’s fix that too.
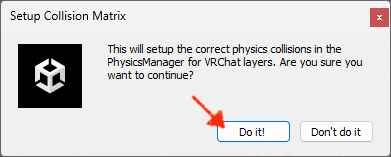
Click the button labeled “Setup Collision Matrix.”
A dialog similar to the previous one will appear. Click the “Do it!” button.
If you look closely, you’ll see another alert. Click the “Auto Fix” button.
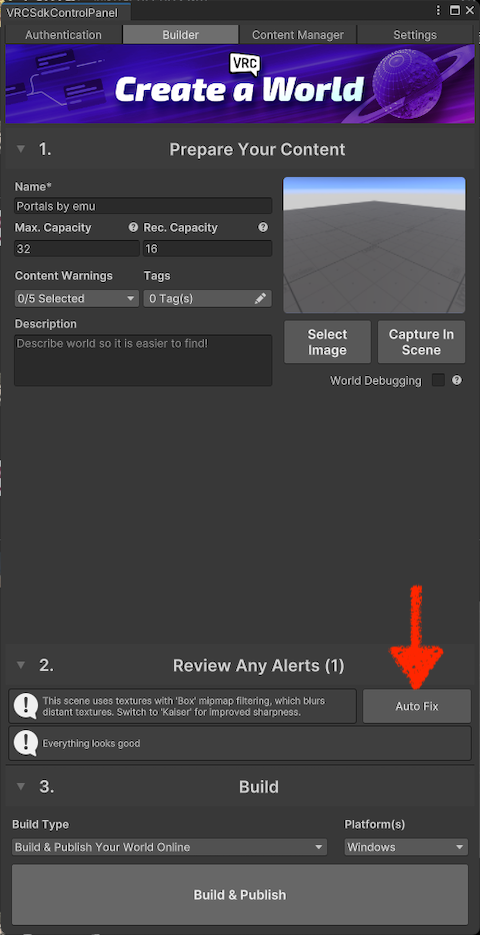
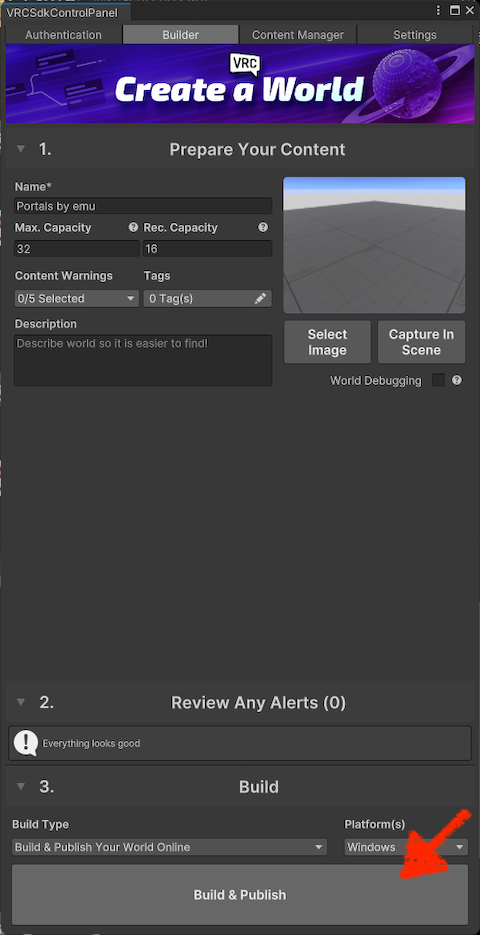
This time, “2. Review Any Alerts” is now (0)!
Click the “Build & Publish” button to upload your world.
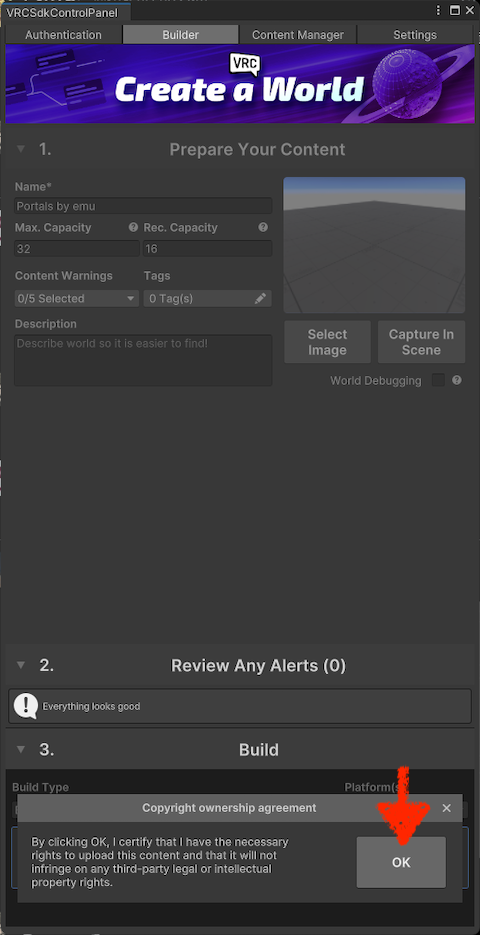
The “Copyright ownership agreement” will appear. Review the agreement, then click the “OK” button.
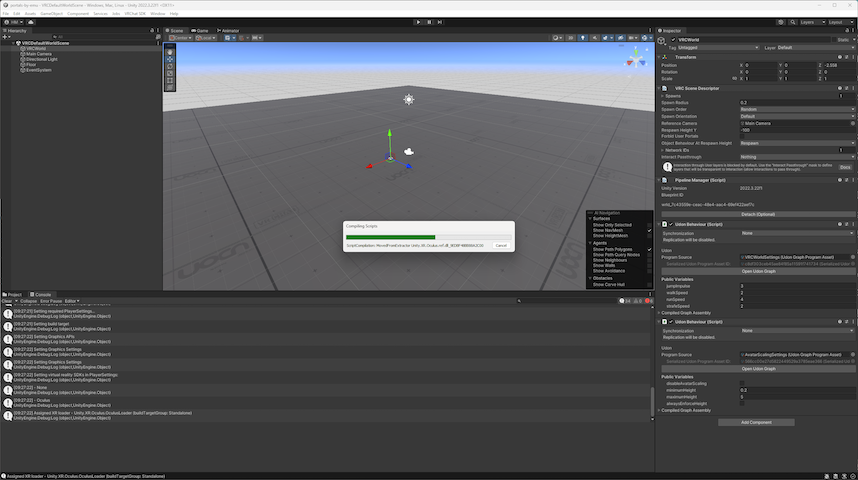
The screen will change to “Building World,” and your world upload will begin.
A progress bar will also appear in Unity. Let’s wait. Is the drink you just got still there?
If the message “Upload Succeeded!” appears on the “VRCSdkControlPanel,” your upload was successful! 🎉
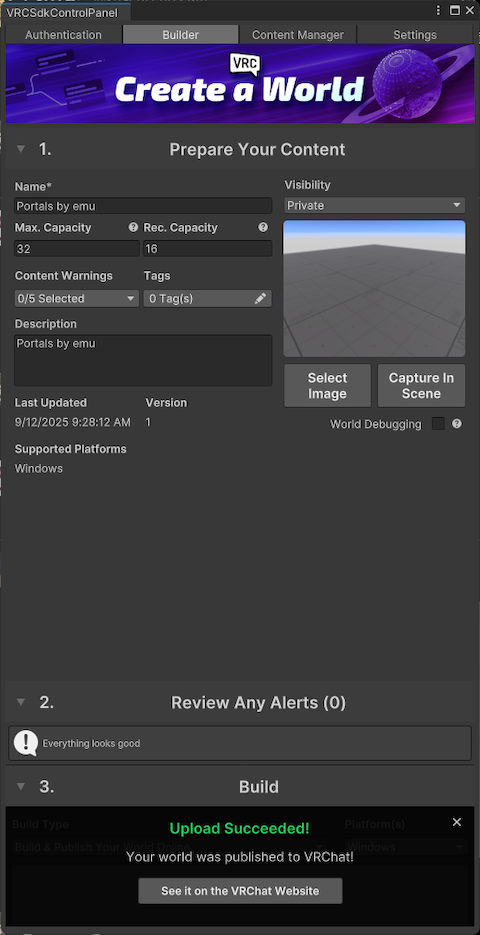
You can view your uploaded world in a browser or in VRChat.
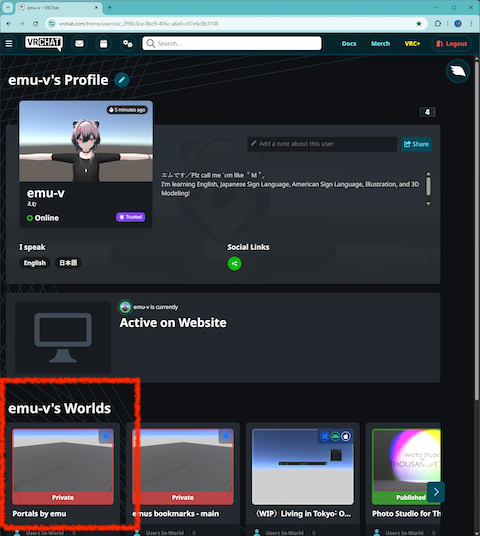
You can check and edit your world’s details in a browser.
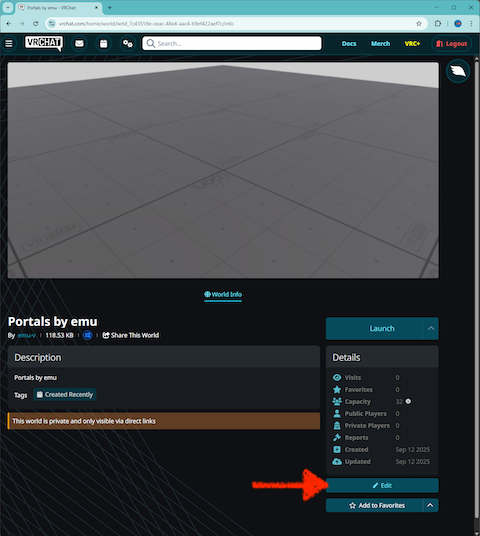
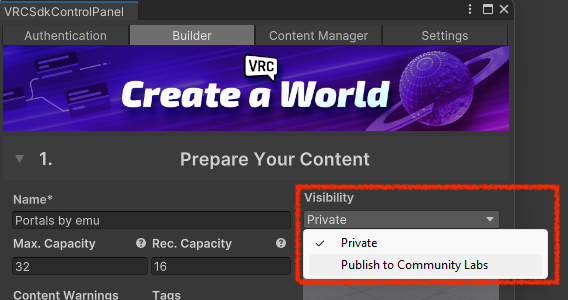
This time, you uploaded it as a “Private” world, but you can publish it to “Community Labs” by selecting “Publish to Community Labs” under “Visibility.”
These are the basics of how to create a VRChat world. Give it a try!
ℹ️ component versions:
VRChat SDK - Base: 3.8.2
VRChat SDK - Worlds: 3.8.2
Unity version: 2022.3.22f1